此內容未以你的語言提供。 以下為英文。
We have launched the images adapted for ARM 64, and ARM32(v7). If you are using these systems or Raspberry Pi, please follow the instructions of the Linux system.
We have uploaded the server docker image to Docker Hub. You could host WizNote Server on your server or your PC( Windows/Linux/Mac) after several steps below.
The requirements of environment:
- System: Windows / macOS / Linux
- CPU: Intel / AMD x64, ARM v7 (arm32), ARM 64
- Memory: 2G at least
Install Docker
If you have already installed the Docker application, please go to the next step. Visit the Docker website to download Docker Desktop. Windows or macOS, please click this link to download:
https://www.docker.com/products/docker-desktop。Notice:You have to register an account before downloading.
For Linux, please click this link to download the CE for your specific Linux OS edition: https://docs.docker.com/install/linux/docker-ce/centos/
After installing, please run the docker desktop.
Download and Run the Docker Image
MacOS / Linux
- Run this command in Terminal to create a data folder
cd ~
mkdir wizdata
Create a folder wizdata for preserving all the data of WizNote Server. Please backup this folder regularly. If you want to use NAS or private cloud as data storage, please contact us.
- Run the command below to run the docker container
Linux
docker run --name wiz -it -d -v ~/wizdata:/wiz/storage -v /etc/localtime:/etc/localtime -p 80:80 -p 9269:9269/udp wiznote/wizserver
MacOS
docker run --name wiz -it -d -v ~/wizdata:/wiz/storage -e TZ=`ls -la /etc/localtime | cut -d/ -f8-9` -p 80:80 -p 9269:9269/udp wiznote/wizserver
Raspberry Pi (Raspbian System)
docker run --name wiz -it -d -v ~/wizdata:/wiz/storage -v /etc/localtime:/etc/localtime -p 80:80 -p 9269:9269/udp wiznote/wizserver-armv7
Windows
- Press Win + R, or click Start Menu - Run, then input this and press Enter.
powershell
- Input this command in the window
D:
cd \
md wizdata
It will create a folder wizdata in D:\ for preserving all the data. You could modify this folder.
Notice: After running the image, you also need to modify the time zone. Please refer to the FAQ part.
- Then run this command in terminal.
docker run --name wiz -it -d -v D:/wizdata:/wiz/storage -p 80:80 -p 9269:9269/udp wiznote/wizserver
It is the first time to run the docker container, so it needs to download the image and initiate the data. Please wait for a while(depends on the network connection; it will take 10 minutes or longer). After the download process finished, the time of running will take 2-3 minutes.
Launch the browser, visit http://localhost.
You will see this page:
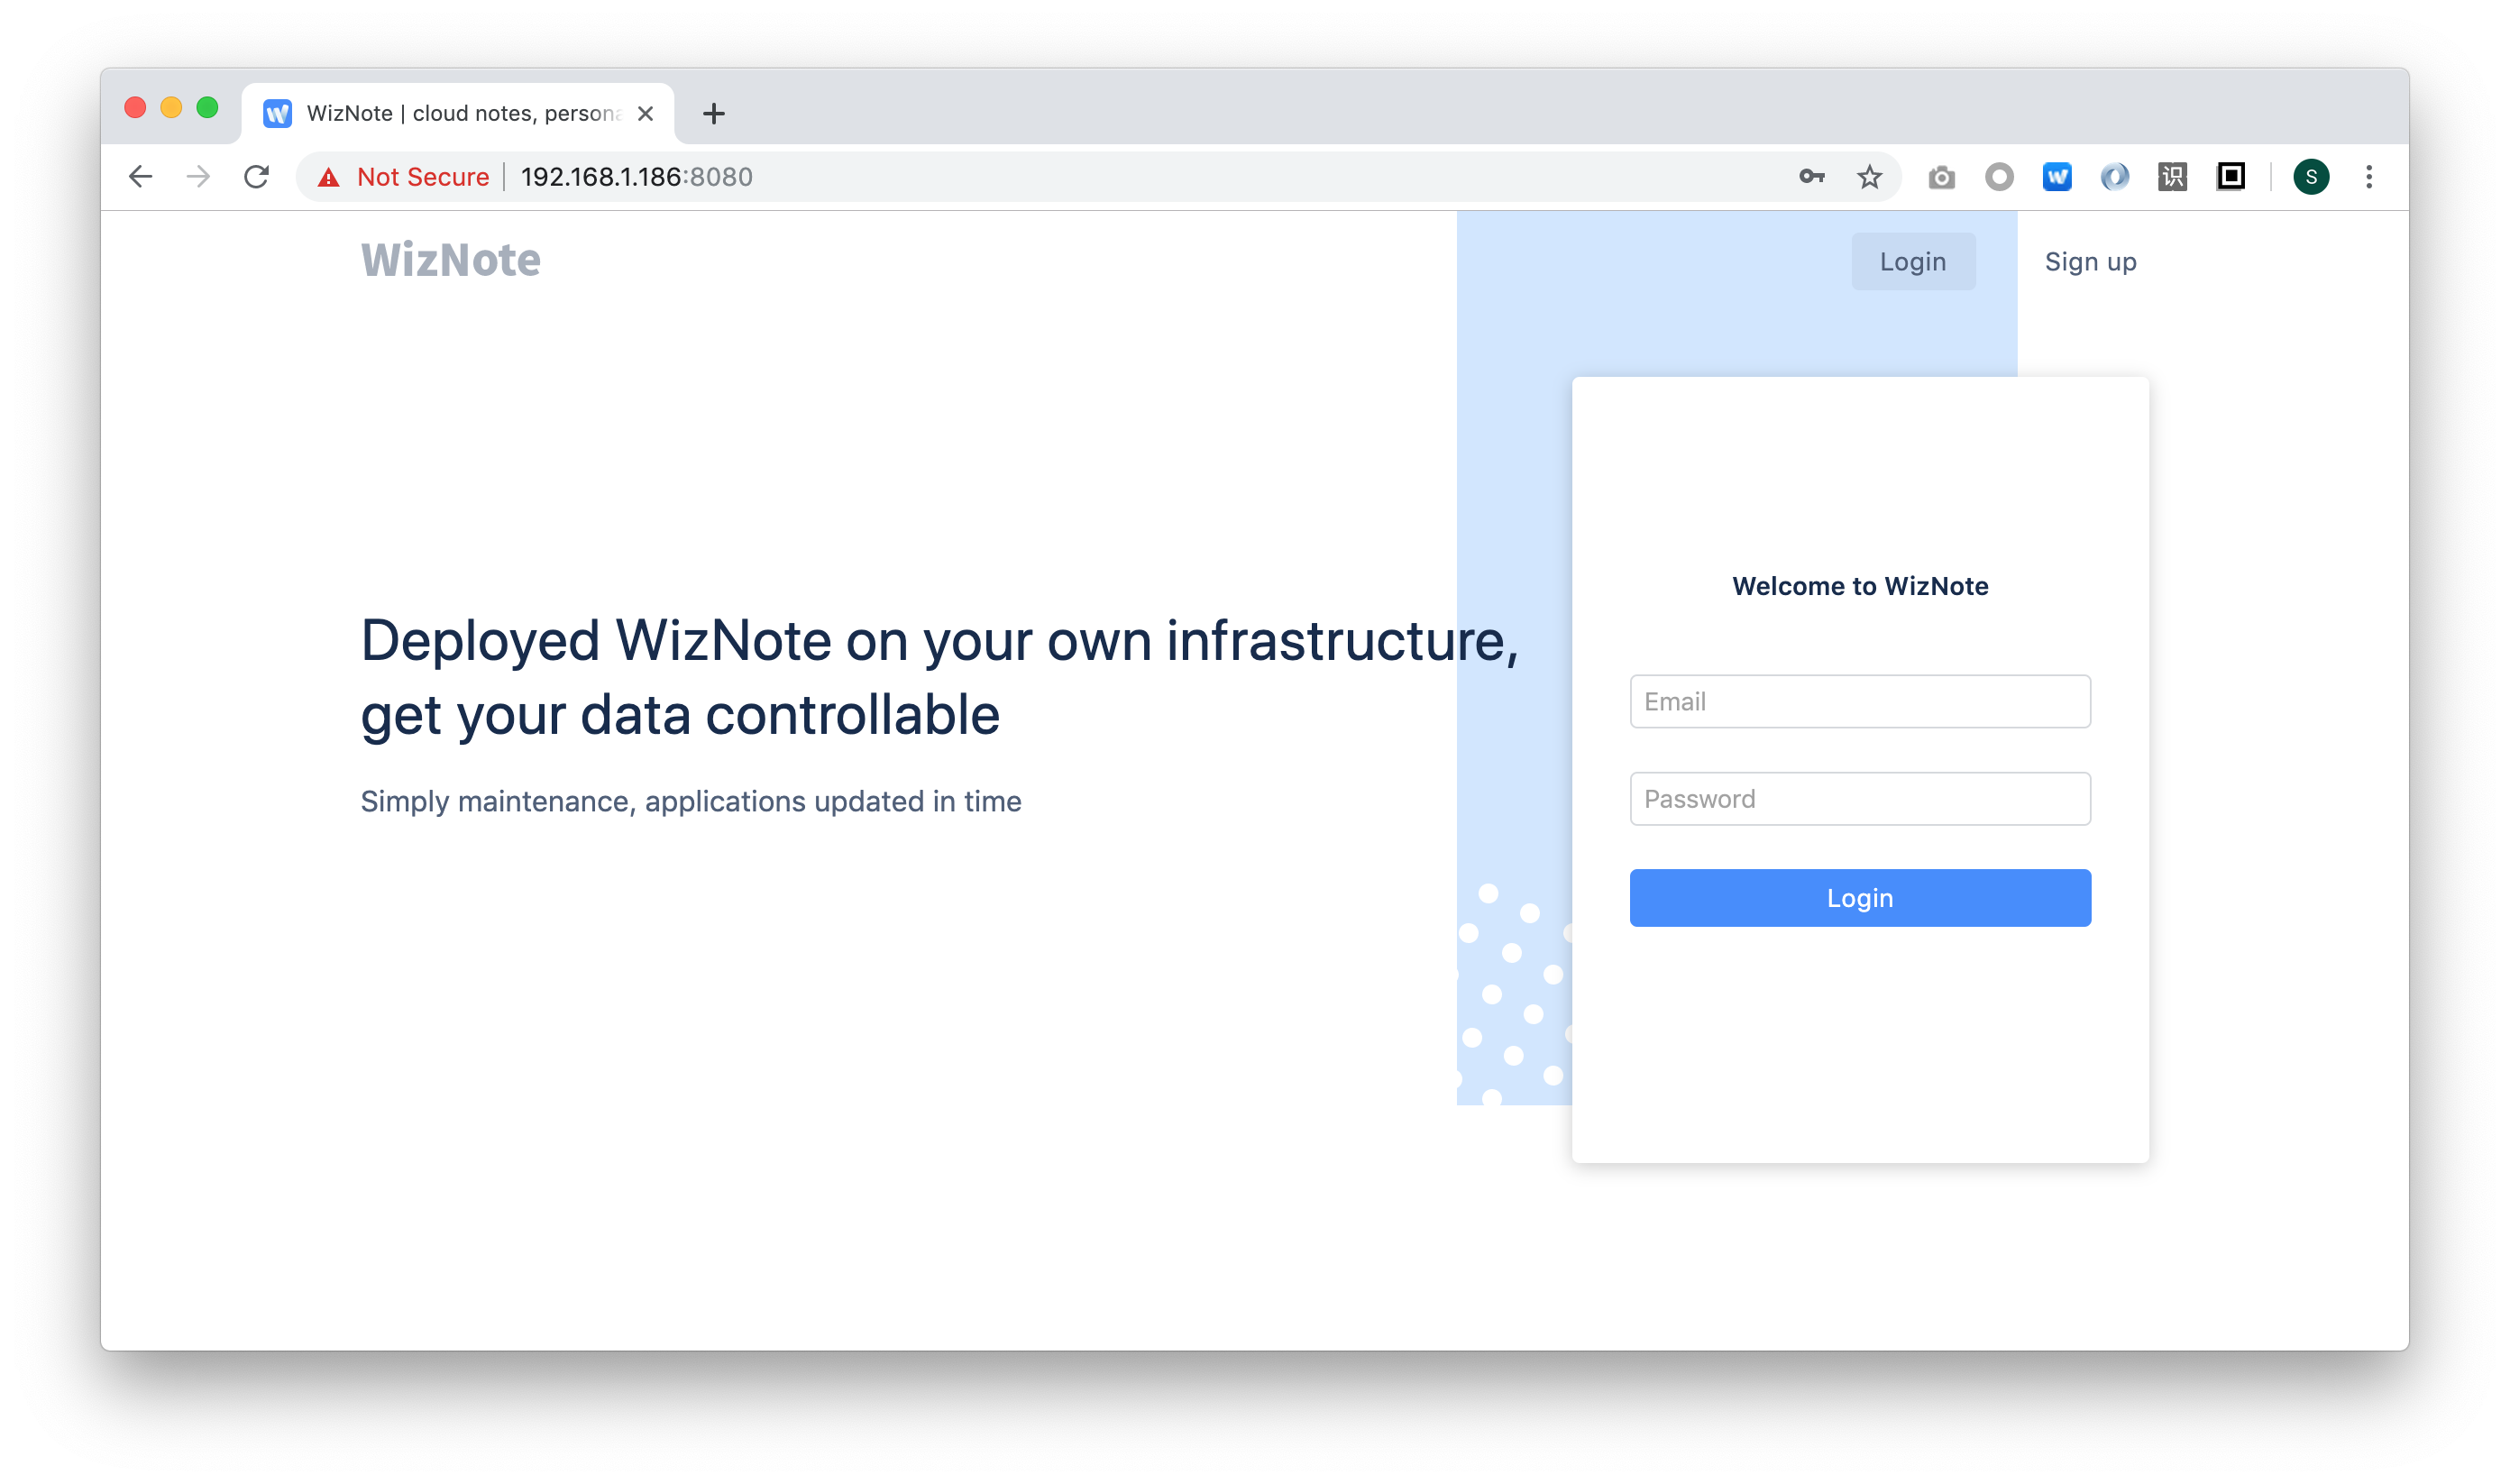
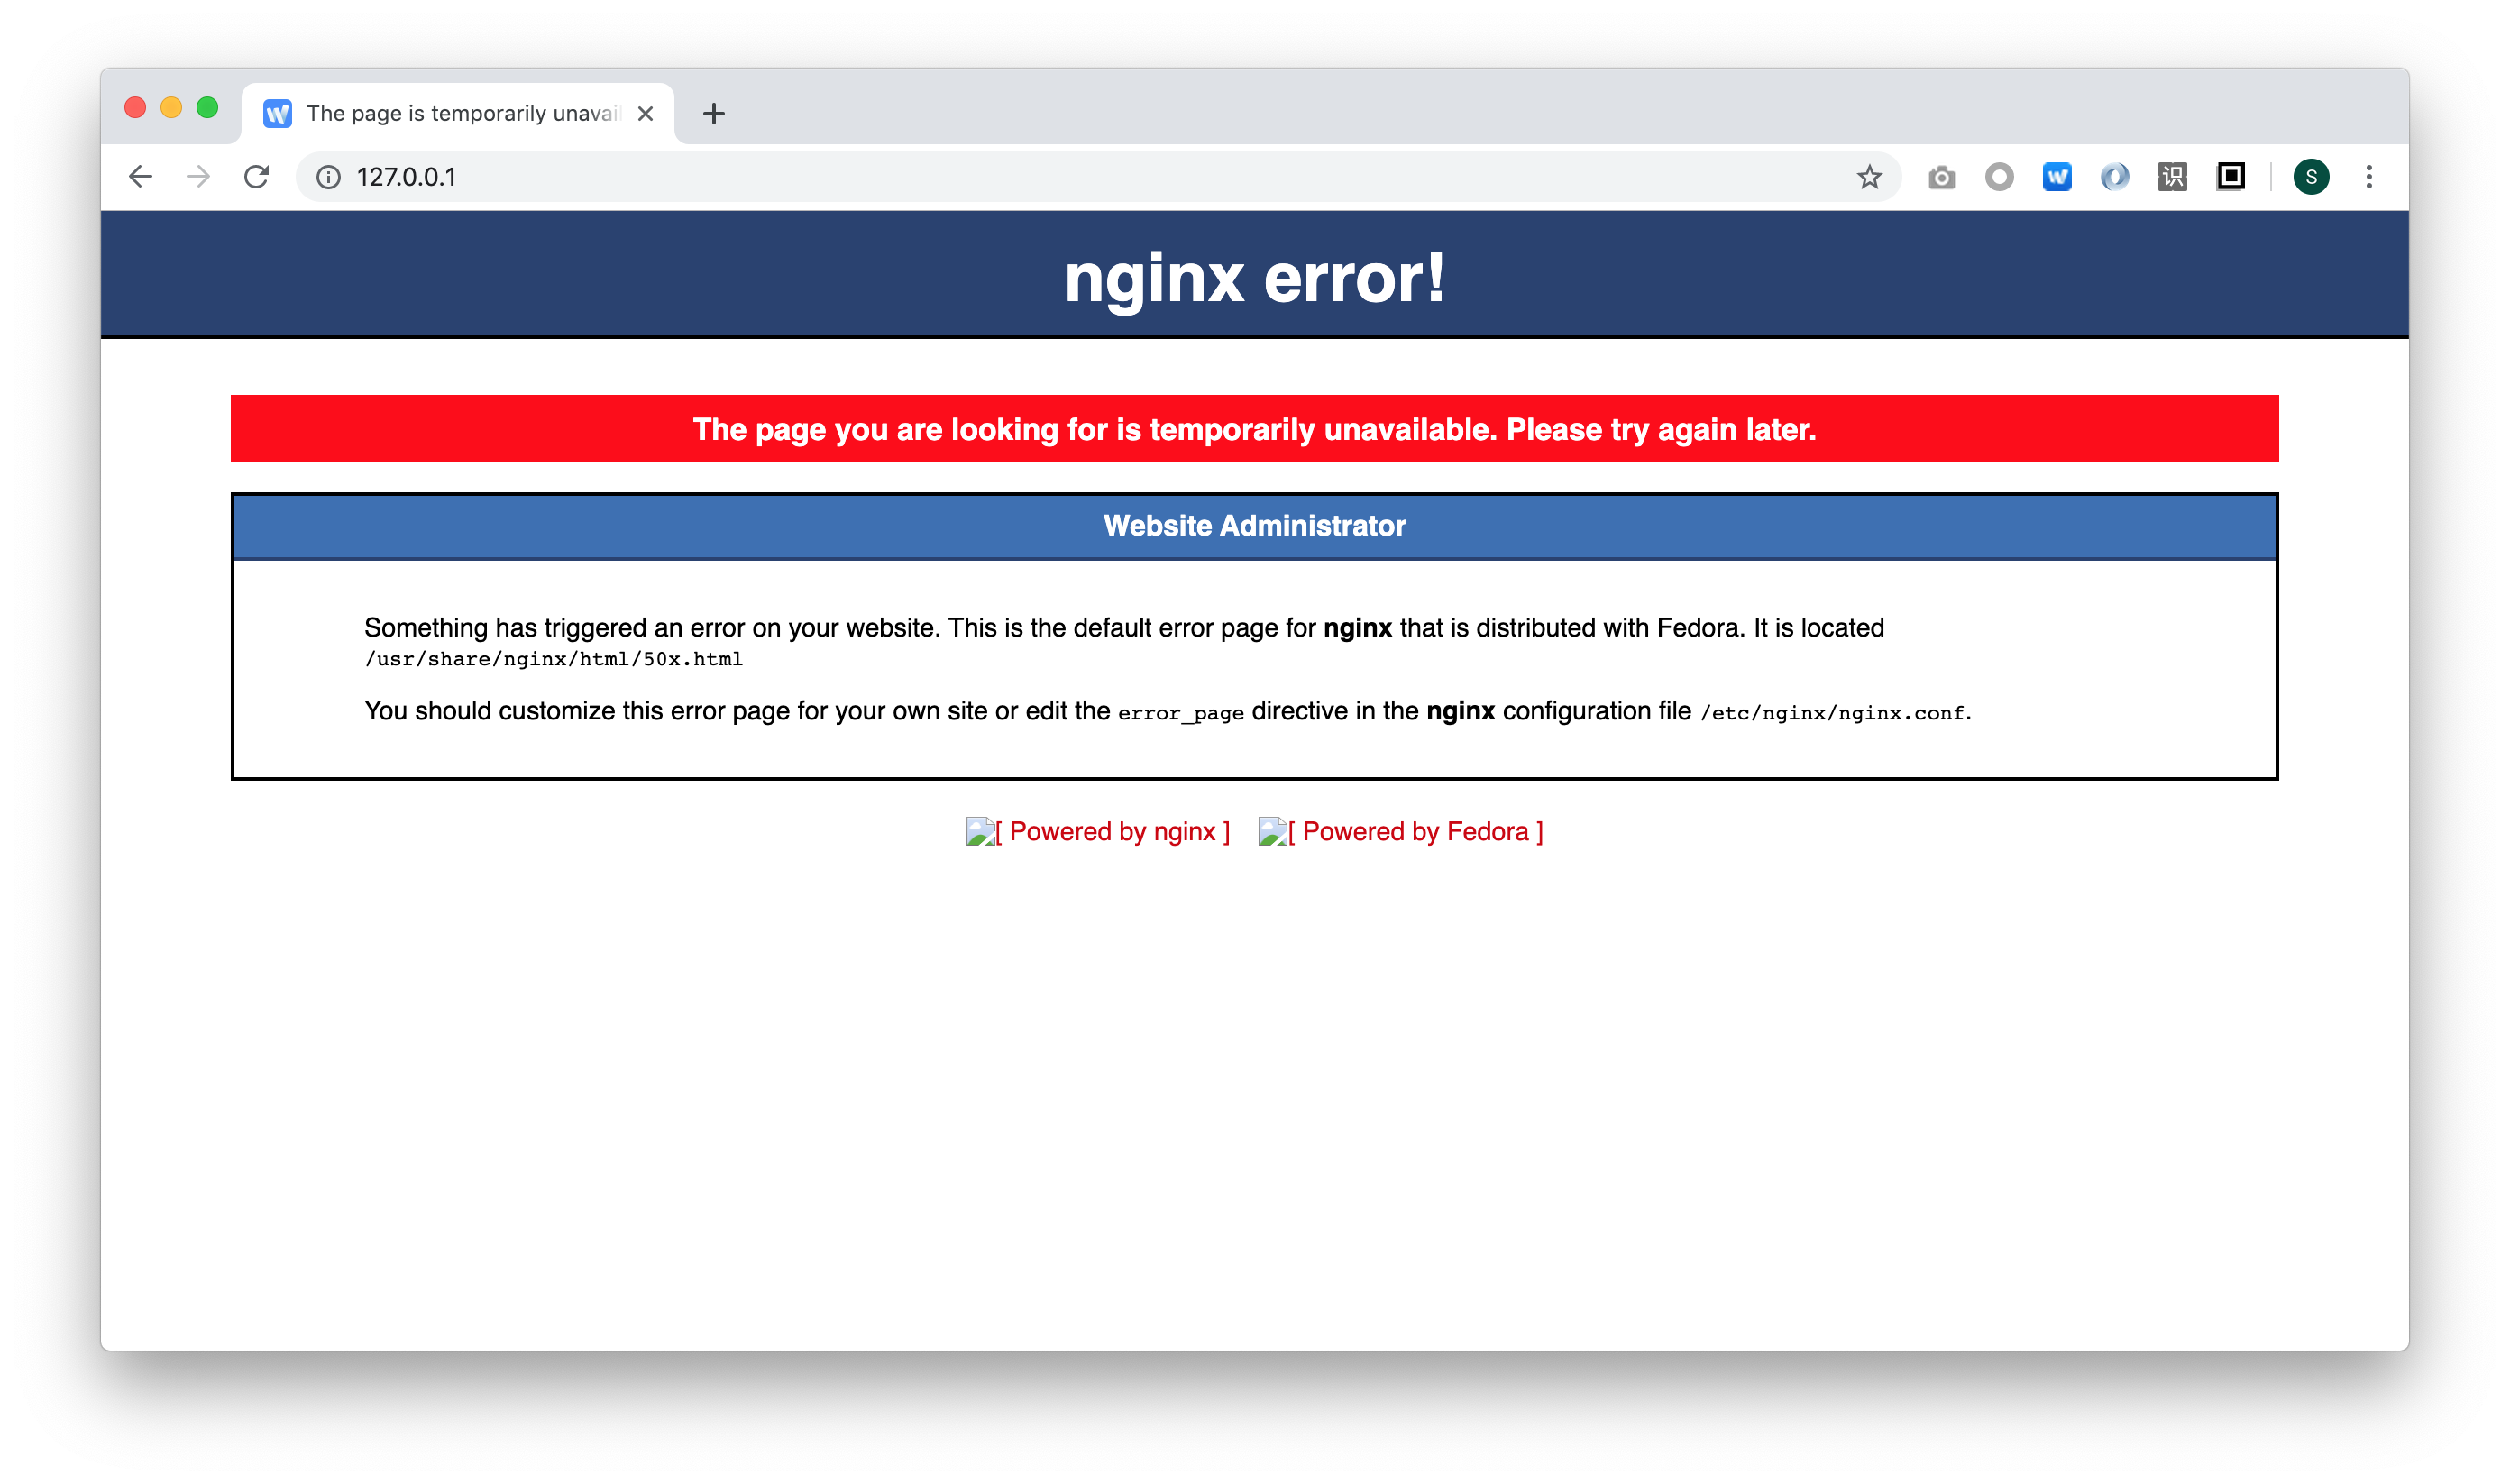
If it displays like the page below, it means the server has not ready, please wait a minute and refresh.
Modify the Port
If port 80 has occupied, you could modify it to 8080 or another one. After modified the port, please change the link of the website accordingly.
http://localhost:8080
You could open the web application by visiting your IP address like this, so the user in the same LAN could connect the server via IP address and port(opt)
http://192.168.1.186
The case when you modify the port like this:
http://192.168.1.186:8080
On Windows, you have to make the port through the firewall.
Common Commands
Modify the launch parameters and restart the Container
Modify the parameters when restarting the Container, like changing the port.
After modifying the port, please restart the container and the WizNote Server.
docker stop wiz
docker rm wiz
docker run --name wiz -it -d -v ~/wizdata:/wiz/storage -v /etc/localtime:/etc/localtime -p 80:80 -p 9269:9269/udp wiznote/wizserver
Please change the third line as you require
Restart the WizNote Server
docker start wiz
Update the Image
docker stop wiz
docker rm wiz
docker pull wiznote/wizserver:latest
docker run --name wiz -it -d -v ~/wizdata:/wiz/storage -v /etc/localtime:/etc/localtime -p 80:80 -p 9269:9269/udp wiznote/wizserver
Or you could update WizNote Server image automatically by using Watchtower: https://github.com/containrrr/watchtower
Modify the Time Zone
For example, change the time zone to UTC/GMT+08:00
docker exec -it wiz /bin/bash
cp /usr/share/zoneinfo/Asia/Shanghai /etc/localtime
exit
Get local time zone
Linux
Add -v /etc/localtime:/etc/localtime to the running command to get local time zone
run --name wiz -it -d -v ~/wizdata:/wiz/storage -p 8088:80 -v /etc/localtime:/etc/localtime wiznote/wizserver
macOS
-e TZ=`ls -la /etc/localtime | cut -d/ -f8-9`
FAQ
How to config https?
Which account should I sign in to manage the console?
Default administrator account: admin@wiz.cn password:123456 Please change the password after you finished the deployment. It can add five accounts in the free edition.
Where my data preserved?
All data include files and databases saved in the data folder (the wizdata folder, as we mentioned). Please make sure to back up this folder regularly for preventing data loss.
How to restart the server after I restarted my computer or server?
Run this command in terminal
docker start wiz
Could we use our account which we registered on SaaS?
Yes, please contact our support team for the proposal for migration.
Could we take the private cloud or the dedicate device as storage?
Yes, for the specific process, please contact us.
Are the applications of WizNote acceptable of the Docker Server?
Yes, you could connect the server via all the clients by choosing the Enterprise Server when you log in and then input the address of your docker server. Please notice: The same LAN is necessary. For example, the server data are inaccessible on the mobile, which is not in the same LAN with the server, but the data have been downloaded can be accessed.
Could we ban the accession of mobile applications?
Yes, you could forbid the mobile applications to access the server for protecting your data.
Is there any time limit of WizNote Docker Server?
There is no time limit when the number of accounts is under 5. You can enjoy the server as long as you wish. Please contact us to buy more licenses when you want to promote it in your team.
How could I upgrade the docker server?
We will update the docker image; all you need to do is to download and restart the docker image to follow the instruction below:
docker stop wiz
docker rm wiz
docker pull wiznote/wizserver:latest
After the update, run the start command in the terminal. Or you could update WizNote Server image automatically by using Watchtower: https://github.com/containrrr/watchtower
Could we migrate the data from local hard disk to NAS or cloud storage?
Yes, all the data include database, note data, and the files can be migrated. Please contact us for the specific.
How to backup the data
You could backup the data folder or add NAS or cloud service as your data storage.
Is it available to deploy in a router
No, since the performance of a router CPU usually is too weak to run the server service.
Can we collect WeChat/Weibo/Email into WizNote
Yes, please click here to get the collection service.
The date of new notes is incorrect
It is because the time of the server is not correct. Please run this command to set the time zone. For example, set the time zone to UTC/GMT+08:00(Beijing):
docker exec -it wiz /bin/bash
cp /usr/share/zoneinfo/Asia/Shanghai /etc/localtime
exit
If you want to set to another time zone, please search the name of the time zone and modify the command as you require. On Linux, you could get the current time zone by adding '-v /etc/localtime:/etc/localtime.' The whole command is like this:
run --name wiz -it -d -v ~/wizdata:/wiz/storage -p 8088:80 -v /etc/localtime:/etc/localtime wiznote/wizserver
On macOS, you could set the time zone automatically by running this command:
-e TZ=`ls -la /etc/localtime | cut -d/ -f8-9`
If you are going to deploy WizNote on Synology NAS
- The image may couldn't run if the memory is less than 4G
- Do not add the folder mapping in the Synology NAS Preference page. It may cause the issue of authorization. Please connect NAS by ssh, then add the data folder as we mention above.
- Modify the port. The 80 port is not available in Synology NAS.
Reference
- How to purchase the license
- How to set https
- How to activate Collection Service
- Sign in through OA
- How to config the SMTP service
- Deploy on Synology NAS
- Personalize the homepage
Feedback
If you have any questions, please feel free to contact us.
- Contact:400-650-4330
- Mail:support@wiz.cn
You could also send your feedback via the form below.